
Title: From Dull to Dazzling: Crafting Your Own Silver-Plated Metal Masterpieces
(How To Make Metal Silver Plates#Tts=0)
Ever wondered how plain metal objects get that shiny, luxurious silver finish? It’s not magic—it’s science! Silver plating transforms everyday items into eye-catching treasures. Let’s break down how you can do this at home. No fancy lab required. Just basic tools, patience, and a dash of creativity.
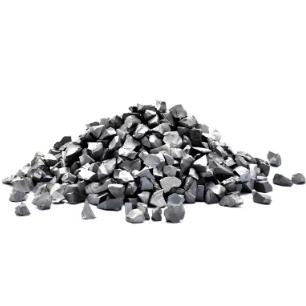
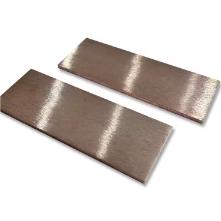
First, gather your materials. You’ll need a clean metal plate (copper or brass works best), pure silver wire or sheet, distilled water, baking soda, white vinegar, a glass container, and a power source like a small battery or DC adapter. Safety gear matters too. Grab gloves and goggles. Silver plating involves chemicals, so better safe than sorry.
Start by cleaning the metal plate. Any dirt or grease ruins the plating. Mix equal parts vinegar and water in a bowl. Soak the plate for five minutes. Scrub it with baking soda and a soft cloth. Rinse thoroughly. Dry it completely. Even a tiny water spot can mess up the finish.
Next, prepare the silver solution. Cut the silver wire into small pieces. Drop them into a glass jar filled with distilled water. Add a teaspoon of baking soda. Stir gently. Connect the silver pieces to the positive terminal of your power source using a wire. This creates an electrolyte solution. The silver will slowly dissolve into the liquid. This might take an hour. Be patient.
Now, set up the plating station. Attach another wire to the metal plate. Connect this to the negative terminal of the power source. Submerge both the plate and the silver solution into a larger glass container. Make sure they don’t touch. Turn on the power. A low voltage—around 3-6 volts—works best. Too high, and the plating turns lumpy.
Watch the magic happen. Over the next 10-20 minutes, silver ions migrate from the solution to the metal plate. A thin, even layer forms on the surface. Check the progress. If it looks patchy, let it sit longer. Once satisfied, turn off the power. Carefully remove the plate. Rinse it under cold water. Pat it dry with a clean cloth.
Buff the plated surface. Use a microfiber cloth to polish the silver. Gentle circular motions bring out the shine. Avoid pressing too hard. You don’t want to scratch the fresh plating. For extra sparkle, dab a bit of silver polish. Wipe off any residue.
Maintain your silver-plated creation. Exposure to air tarnishes silver over time. Store it in a sealed bag or cloth pouch. Clean it occasionally with a silver-safe cloth. Keep it away from harsh chemicals. With care, your DIY plated piece stays dazzling for years.
Troubleshooting tips: If the silver layer flakes, the metal wasn’t clean enough. Start over. If the finish looks cloudy, the voltage was too low. Adjust and try again. Practice makes perfect. Experiment with small objects first. Old spoons or jewelry are great for testing.
(How To Make Metal Silver Plates#Tts=0)
Why buy expensive silver-plated items when you can make your own? Customize gifts, revive old decor, or just enjoy the thrill of creation. It’s science, art, and a bit of alchemy—all in your hands.
Inquiry us
if you want to want to know more, please feel free to contact us. (nanotrun@yahoo.com)